• FIRST AND LAST NAMES ARE REQUIRED WHEN REGISTERING

Snow blower project

IH Cub Cadet Tractor Forum

Help Support IH Cub Cadet Tractor Forum:

Mike ligus

Active member
Joined
Jul 4, 2021
Messages
26
Location
Margaretville ny
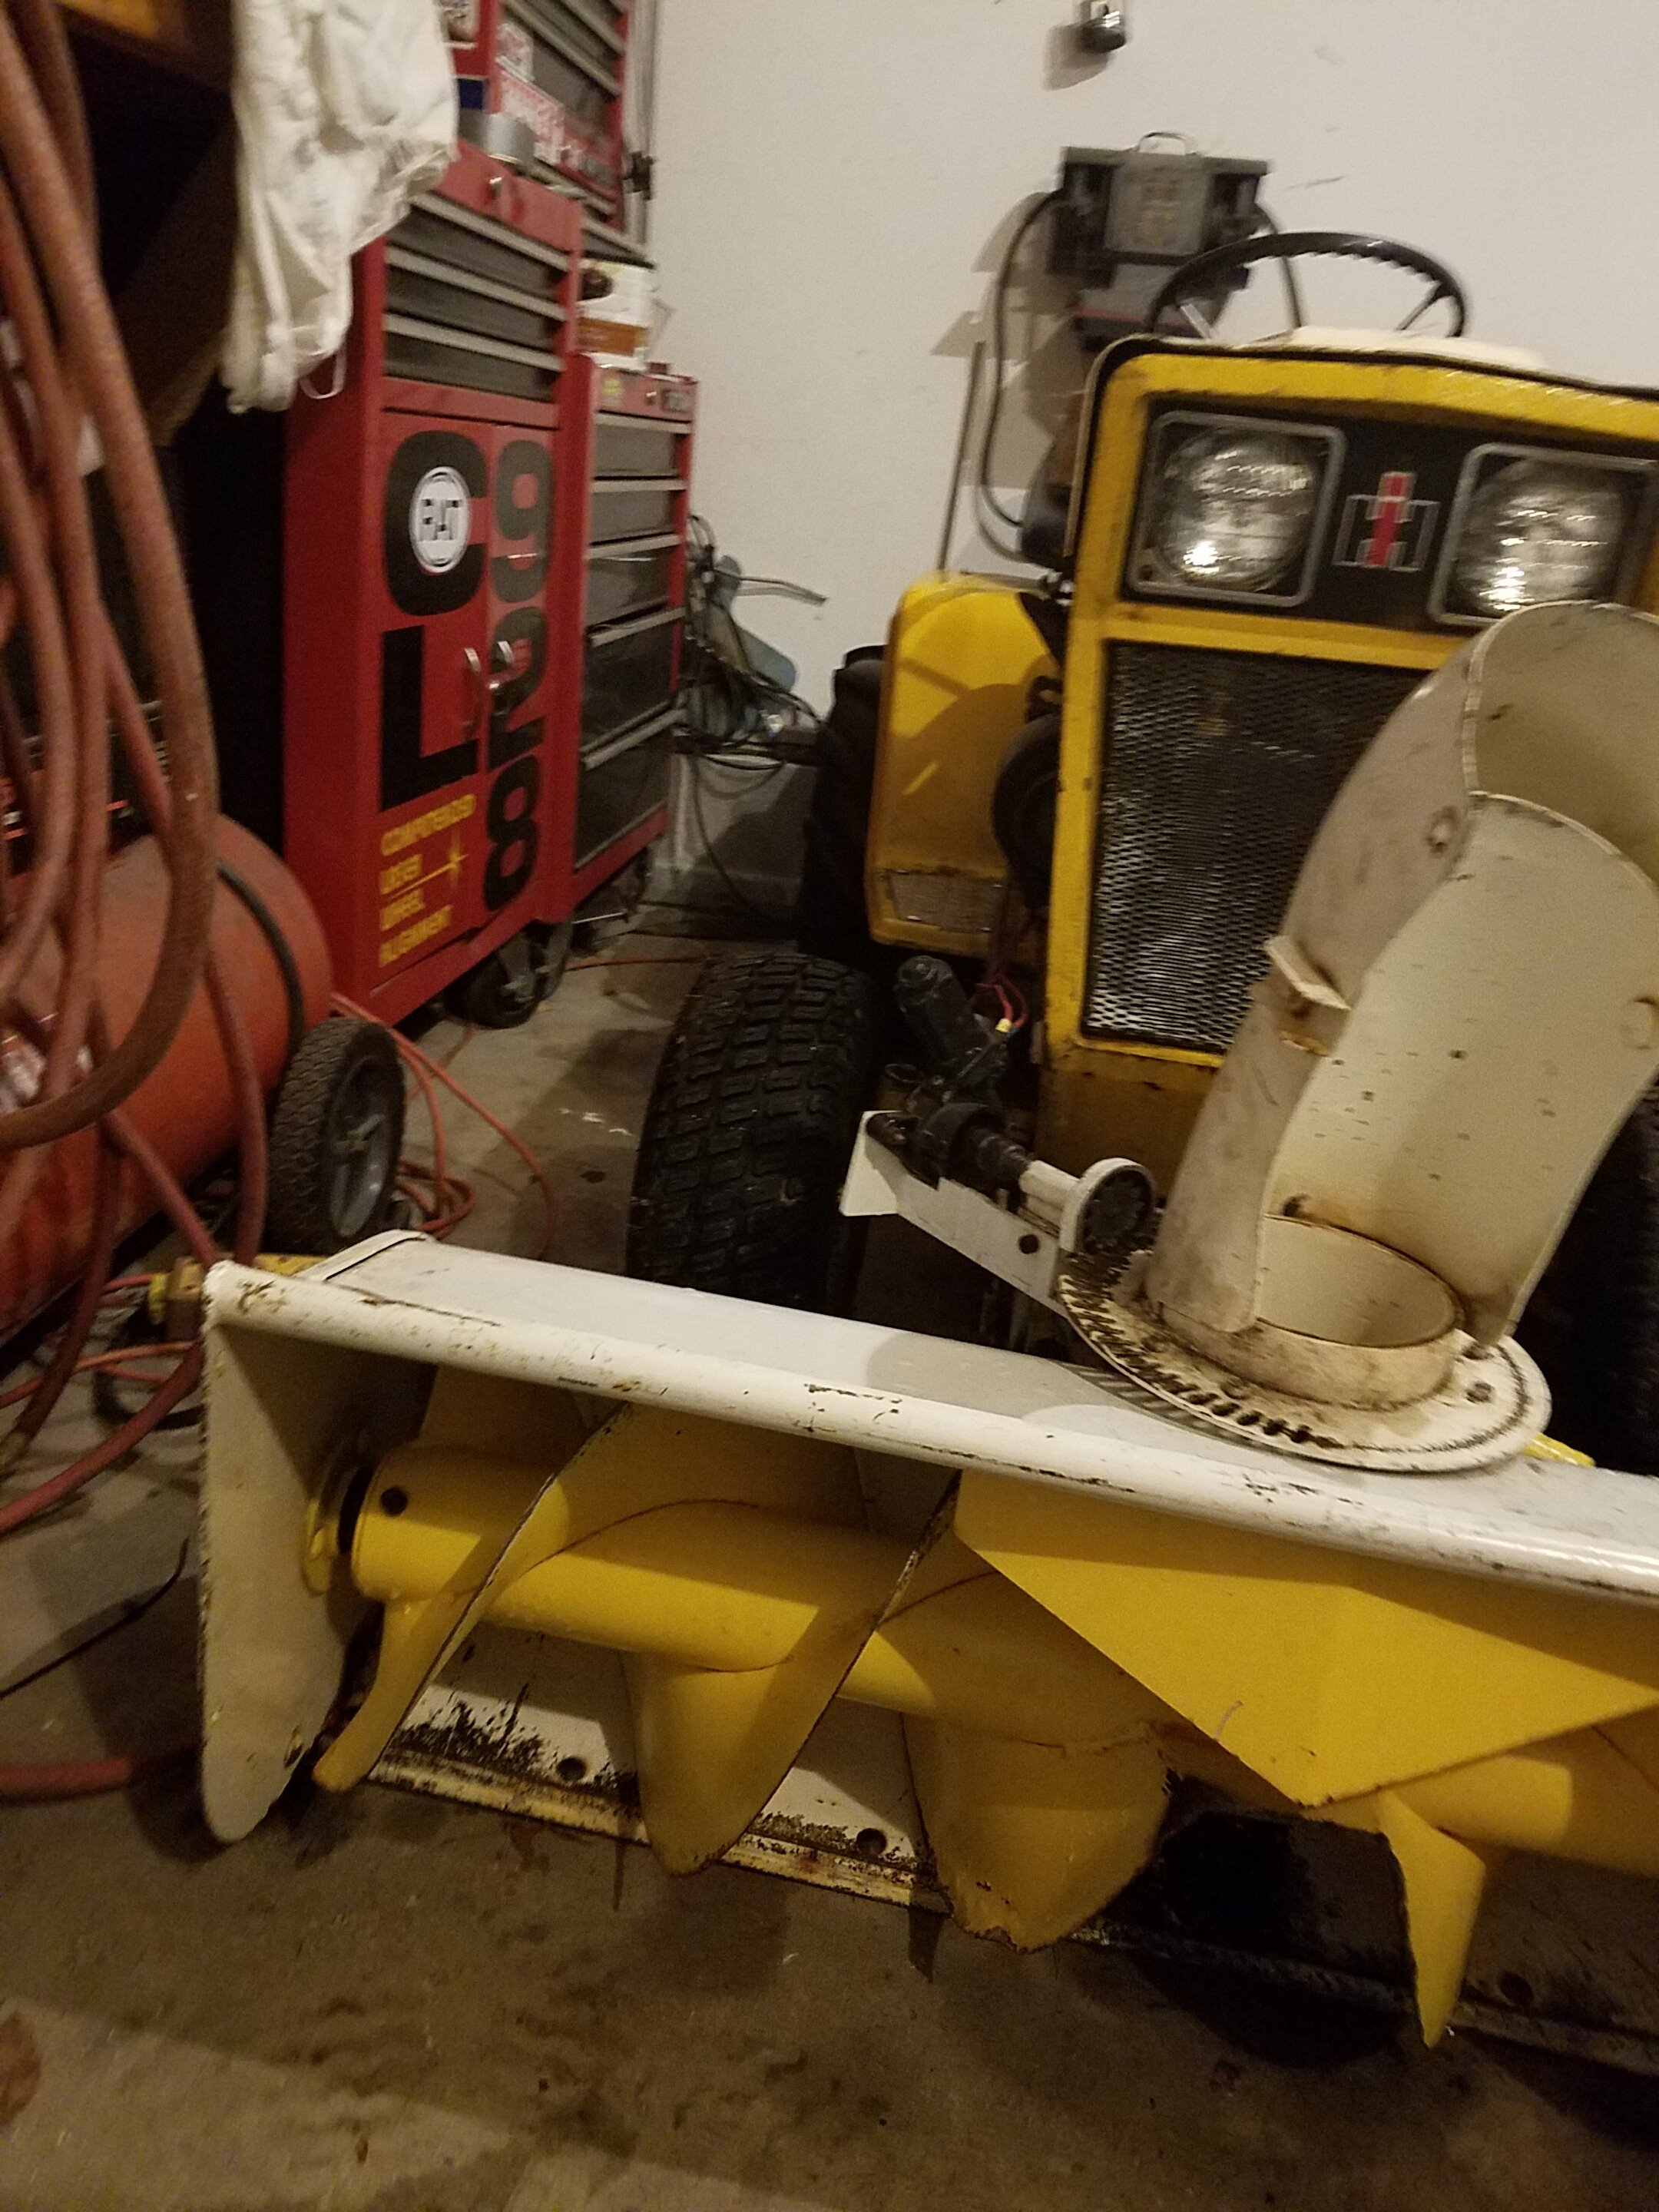
Here is my next hopefully quick project. This snow blower is a QA-36A it seems in great condition. It came with the tractor few years ago. For some reason they painted it red? Even has new decals. It has a mint condition manual for the blower. I can not believe how heavy this thing is, compared to the Junk that is made today in mower industry. Anything I should check before install. Thought I grease everything once it is mounted, I have one disabled leg and I try to figure out how I get it up on the frame by myself. Seems like a two man job maybe.
20221217_155743.jpg
20221217_154456.jpg
20221217_154422.jpg
 

Mike ligus

Active member
Joined
Jul 4, 2021
Messages
26
Location
Margaretville ny
Can I ask if anyone has a picture of the pin configuration the Mule drive slides onto. I looked in manuals in here but they just show the hole in the frame. I show a picture of what prior owner stuck in place. I like to put correct pin back in place. I. Try to remove the Hillbilly repairs and go back to OEM. Or at
20221221_180506.jpg

least redneck engineering LOL
 

mgwin

Well-known member
Joined
Sep 3, 2009
Messages
3,220
Location
Reidsville, NC
displayname
Marty A. Gwin
Yes.
1. Pull up your picture. (full screen)
2. Right click your mouse on the pic, and then left click on the word: "Resize"
3. Then left click on the top option that says: "Best for profile pictures and thumbnails"
4. Then save it to your computer, giving it a different name than the original pic so you will know which one is the resized one.
Then it will be ready to download on your posts. :bluethumbsup:
 

bcarl

Well-known member
Joined
Jun 1, 2008
Messages
125
Location
Halifax, PA
displayname
Bruce Carl
Here’s a link to the operators manual. http://ccmanuals.info/pdf/QA 36A & 42A Snowthrower Operators Manual.pdf. This is the manual for the wide frame CC which it appears you have. There is a bracket bolt on the frame to attach the rear mount. It appears from you photo the bracket bolt was sheared and replaced with the current setup. The manual also shows how to mount the thrower using the quick attach where the mule drive would be inserted.
 

bcarl

Well-known member
Joined
Jun 1, 2008
Messages
125
Location
Halifax, PA
displayname
Bruce Carl
It’s a hitch bolt not a bracket bolt as I first stated. I believe there is a nut welded to the frame on the inside which the hitch bolt is threaded into. There is a shoulder on the hitch bolt that allows for the space to hook the rear bracket on. Here’s a picture of the mount on my 147. Not a wide frame but the same quick attach mounting. You could probably use a lock nut on the inside of the frame with a shoulder bolt to have a better setup than what you have now
 

Attachments

  • 7444EF75-9E5E-4DFA-B68F-9B27052AB348.jpeg
    7444EF75-9E5E-4DFA-B68F-9B27052AB348.jpeg
    3.4 MB · Views: 0

btaner

Active member
Joined
May 12, 2006
Messages
37
Location
ne ohio
displayname
b taner
As for mounting on the tractor, i would undo the four hitch pins at the thrower and then attach the mule drive to the machine, using the frankenstien bolts and making sure the quick attach is latched. Then line up the thrower to the lift arms and replace hitch pins. This way for me reduces some weight to move around.
 

Attachments

  • shute1.jpg
    shute1.jpg
    965.7 KB · Views: 0

jdrong

Well-known member
Joined
Nov 23, 2008
Messages
112
Location
Little Falls, MN
displayname
Jdrong
As for mounting on the tractor, i would undo the four hitch pins at the thrower and then attach the mule drive to the machine, using the frankenstien bolts and making sure the quick attach is latched. Then line up the thrower to the lift arms and replace hitch pins. This way for me reduces some weight to move around.
I have been attaching my snow thrower way this for years. I might add, to tip the thrower forward, and install the lower pin first, then when tipping it back up, slide the drive shaft together (at the slip joint) making sure the yokes for the u-joints are lined up properly.
 

Latest posts

Top